
Renovating or upgrading a commercial property can quickly turn into a budgeting nightmare if you do not plan every phase carefully. From the ground up, exterior improvements, and interior systems, each decision affects your bottom line and your timeline. Understanding where costs typically spiral out of control can help you avoid surprises and make smarter choices. This guide breaks down the key areas property owners should evaluate before committing to any commercial improvement project.
Starting With a Solid Site Assessment

Before any construction begins, it is worth investing in a proper site evaluation to avoid costly surprises later. A civil engineer surveyor can identify drainage issues, property line disputes, and soil conditions that might affect your project’s foundation or layout. Skipping this step often leads to change orders mid-project, which almost always cost more than addressing problems upfront. Property owners who budget for this early assessment tend to save significantly during the actual construction phase.
A thorough survey also helps you understand zoning restrictions and easements that could limit what you are allowed to build or modify. This is especially important if your improvement plans include expanding a parking area, adding a structure, or altering drainage patterns. Getting this information early gives you leverage when negotiating with contractors, since you will know exactly what is feasible before requesting bids.
Budgeting for Debris and Site Cleanup
Every renovation or construction project generates waste, and managing it properly is not just about tidiness, it is about cost control and compliance. Renting a dumpster rental unit sized appropriately for your project scope can prevent overflow fees and multiple pickup charges that add up quickly. A 10-yard container may suit a small office refresh, while a full interior demolition or multi-unit upgrade often requires a 30 or 40-yard unit to avoid constant swaps.
Many property owners underestimate how much debris even a modest renovation produces, leading to unexpected rental extensions. Flooring removal, drywall, old fixtures, and packaging materials accumulate faster than expected, and running out of capacity mid-project often means paying rush fees for an emergency second haul.
Weight limits matter just as much as volume. Heavier materials like concrete, tile, or roofing shingles can push a load over its allotted tonnage, triggering overage charges that catch budgets off guard if they aren’t factored in upfront.
It also pays to check local permitting rules and placement restrictions before delivery, since some municipalities require permits for dumpsters placed on public streets or sidewalks. Building this cleanup line item into your initial budget, rather than treating it as an afterthought, keeps the broader renovation on schedule and protects against costly surprises near project close-out.
- Request a size consultation from your rental provider based on project scope—10-yard bins suit small demolition, while 30- or 40-yard units fit full gut renovations
- Confirm what materials are accepted to avoid contamination fees, since mixing drywall, concrete, or electronics into a general debris bin can trigger charges of $100-$500 per load
- Schedule pickups strategically to avoid idle rental days, since most providers charge daily overage fees once the initial rental period (typically 7-10 days) expires
- Factor in permit requirements if the dumpster sits on public property, as municipalities often charge $25-$150 per permit and may require sidewalk barricades or reflective markers
- Compare weekly versus monthly rental rates for longer projects, since monthly contracts can cut per-day costs by 20-30% on multi-phase renovations
- Negotiate multiple pickup-and-swap cycles upfront if the project generates debris in stages, rather than paying separate delivery fees each time
Evaluating Parking and Pavement Needs

Parking lots and driveways are often overlooked until cracks, potholes, or drainage problems become impossible to ignore. Commercial asphalt paving projects require careful timing since weather conditions directly affect curing and longevity. Property owners should get multiple quotes and ask about base preparation, since skipping proper grading work often leads to premature failure and repeat expenses.
It also helps to think about the lifecycle cost rather than just the upfront price when comparing paving options. A slightly higher initial investment in quality materials and proper installation can extend the pavement’s life by several years, reducing the frequency of costly repairs. Ask contractors about sealcoating schedules and drainage design, since standing water is one of the leading causes of pavement deterioration.
Improving Curb Appeal Without Overspending
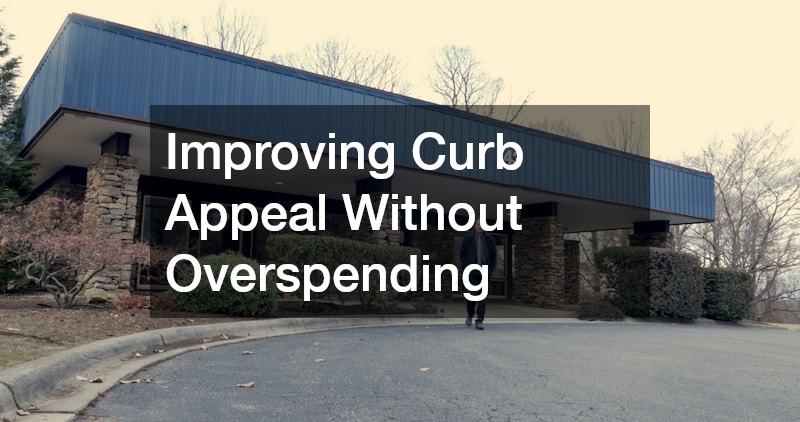
First impressions matter enormously for commercial properties, whether you are attracting tenants, customers, or buyers. Studies on retail and office leasing consistently show that visitors form an opinion within the first seven to ten seconds of arrival, making the exterior just as important as interior finishes. Commercial landscaping does not have to mean an expensive overhaul; strategic plant placement, mulching, and seasonal maintenance can dramatically improve appearance at a fraction of the cost of a full redesign.
Simple upgrades often deliver outsized results. Fresh mulch or gravel beds can cost as little as a few hundred dollars per area but instantly sharpen the look of entrances and parking islands. Drought-tolerant native plants reduce both water bills and ongoing maintenance labor, while seasonal color rotations, such as swapping annuals twice a year, keep the property looking fresh without major capital investment.
Many property owners find that a phased approach, tackling entrances and high-visibility areas first, delivers the best return on a limited budget. Prioritizing the main entrance, lobby walkway, and street-facing facade typically yields the greatest perception boost per dollar spent. Secondary areas like side lots or rear loading zones can be addressed later, once cash flow allows, without undermining the property’s overall curb appeal.
- Choose drought-tolerant plants (lavender, ornamental grasses, succulents) to cut irrigation costs by up to 50%
- Schedule quarterly maintenance contracts to avoid emergency cleanup fees after storms or overgrowth
- Focus budget on entrances and walkways, since these areas drive first impressions and tenant satisfaction
- Consider native species suited to your climate zone, as they require less water, fertilizer, and pest control
- Budget for seasonal color changes (2-4 rotations per year) only if brand image or tenant experience justifies the cost
- Use mulch beds instead of turf in low-traffic areas to reduce mowing and watering expenses
- Install low-cost solar pathway lighting near entrances to boost visibility and safety without added electrical costs
Making Your Property Easy to Find and Identify
Visibility matters just as much as aesthetics when it comes to commercial improvements. Real estate signs are often the first thing prospective tenants or buyers notice, and outdated or damaged signage sends the wrong message before anyone even walks inside. Investing in professional, well-maintained signage can be one of the most cost-effective improvements a property owner makes, since it directly influences leasing or sales activity.
Beyond real estate listings, general property signs play a functional role in guiding traffic, marking parking zones, and communicating safety information. Poorly placed or illegible signs can create liability issues, especially in parking areas or near construction zones. Budgeting for durable, code-compliant materials upfront reduces the need for frequent replacements caused by weather damage or fading.
Planning Roof Repairs and Replacements
Roofing is one of the largest and most unpredictable expenses a commercial property owner faces, with full replacements often ranging from $5 to $15 per square foot depending on the system. Hiring a qualified commercial roofer for regular inspections, ideally twice a year and after major storms, can catch small issues like minor leaks, ponding water, or flashing damage before they turn into structural problems requiring full replacement. Many roofing failures stem from deferred maintenance rather than material failure, which makes routine inspection one of the most cost-effective habits a property owner can adopt.
Beyond scheduled inspections, it helps to track the age and expected lifespan of your roofing system, since materials like TPO, EPDM, and modified bitumen each carry different maintenance needs and replacement timelines ranging from 15 to 30 years. Keeping a maintenance log with photos and repair dates also gives you leverage when negotiating warranty claims or insurance coverage.
When repairs become frequent or costly, it’s worth having your commercial roofer provide a cost comparison between patch repairs and a phased replacement plan. Spreading a large reroofing project across two or three budget cycles can ease cash flow strain while still addressing the problem before it forces an emergency shutdown.
- Schedule inspections twice a year—ideally in spring and fall—plus additional checks before winter and immediately after major storms or hail events
- Ask contractors for a written maintenance log documenting past repairs, materials used, and dates, so you can track wear patterns and anticipate future costs
- Compare warranty terms carefully: manufacturer warranties often cover materials for 20-30 years, while workmanship warranties from contractors may only last 2-5 years
- Clarify whether warranties are prorated, since coverage value can decrease significantly after the first several years
- Consider reflective or energy-efficient roofing materials, such as white TPO membranes or coated metal, which can cut cooling costs by 10-20% in warmer climates
- Factor in local rebates or utility incentives for energy-efficient roofing, which can offset higher upfront material costs
Upgrading Interior and Exterior Lighting Systems
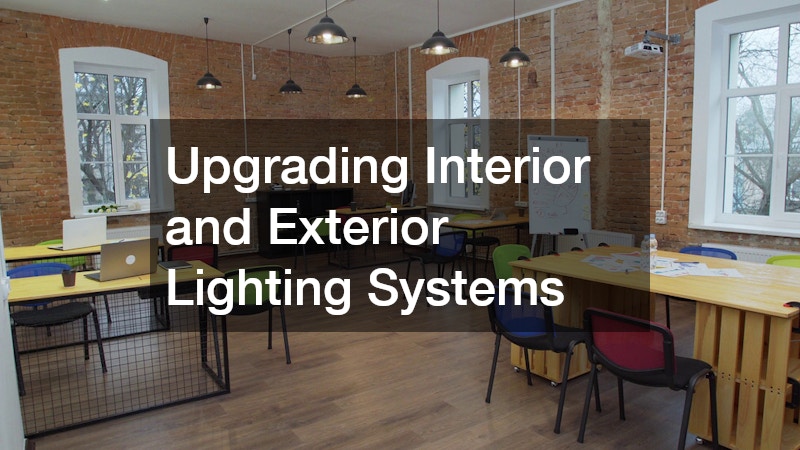
Lighting upgrades are often deprioritized during renovations, but they can significantly affect both operating costs and tenant satisfaction. Modern commercial lighting systems, particularly LED retrofits, dramatically reduce electricity usage while improving visibility in parking lots, hallways, and common areas. LEDs typically cut lighting-related energy use by 50-75% compared to older fluorescent or halogen fixtures, and they last considerably longer, which lowers maintenance and replacement costs.
Beyond raw energy savings, upgraded lighting improves safety and perceived property value. Brighter, more even illumination in stairwells, garages, and walkways reduces liability risks and enhances tenant comfort after dark. Motion sensors and daylight harvesting controls can further trim usage in low-traffic areas like storage rooms or back hallways.
Property owners frequently see a return on this investment within two to four years through reduced utility bills alone, and many utility providers offer rebates that shorten the payback period further. Factoring in these incentives alongside long-term maintenance savings makes lighting retrofits one of the more predictable, low-risk upgrades in a broader capital improvement plan.
Beyond cost savings, updated lighting also improves safety and perceived property value. Poorly lit stairwells, entrances, or parking areas create liability risks and can deter tenants or customers from returning after dark. The Illuminating Engineering Society recommends a minimum of 1-2 foot-candles for parking lots and 5-10 foot-candles for building entrances, and a quick light-meter reading can reveal whether current fixtures fall short of these benchmarks.
Insurance carriers and legal counsel often flag inadequate lighting as a contributing factor in slip-and-fall claims, so bringing common areas up to code can reduce both premiums and exposure. Switching from older fluorescent or metal halide fixtures to LEDs typically cuts lighting energy use by 50-75% while extending bulb life to 25,000-50,000 hours, sharply lowering maintenance callouts. Many owners recoup the upgrade cost within two to four years through utility savings alone, especially when local rebate programs offset a portion of the installation expense.
Pairing new fixtures with motion sensors, timers, or daylight-harvesting controls in low-traffic areas like stairwells and back offices can trim consumption further without sacrificing coverage when spaces are occupied. When planning any renovation, it is worth including a lighting audit to identify areas where upgrades would have the greatest impact, prioritizing high-traffic zones, entry points, and exterior walkways first.
Prioritizing Fire and Life Safety Systems
No commercial improvement project should overlook life safety infrastructure, even when budgets are tight. Fire alarms must meet current code requirements, and outdated systems can result in failed inspections, fines, or insurance complications. Property owners should treat safety system upgrades as a non-negotiable line item rather than an area to cut corners.
Working with licensed professionals to test and certify these systems regularly also protects against liability in the event of an incident. Many jurisdictions require documented inspection records, and failing to maintain them can delay occupancy permits or insurance claims. Building this cost into your annual maintenance budget, rather than treating it as a one-time expense, keeps your property compliant year after year.
Considering Custom Structural and Design Elements
Some commercial improvements call for custom-built components that standard suppliers cannot provide, such as railings, stairways, or decorative facades. Metal fabrication services allow property owners to get durable, code-compliant structures tailored to their exact specifications, which can actually reduce long-term maintenance costs compared to generic alternatives. While custom work often carries a higher upfront price, it frequently outperforms mass-produced materials in durability and weather resistance.
When considering custom fabrication, it helps to request detailed material specifications and finish options before finalizing a contract. Powder-coated or galvanized finishes, for example, resist corrosion far better than standard paint, extending the lifespan of outdoor structures. Taking time to compare fabricators based on portfolio and material knowledge, rather than price alone, tends to produce better long-term outcomes.
Final Thoughts
Managing operational costs across commercial property improvements ultimately comes down to planning ahead, prioritizing maintenance, and choosing quality where it matters most. Every category, from site surveys to signage to safety systems, plays a role in your property’s long-term value and functionality. Taking a proactive approach rather than reacting to emergencies will save money and stress over time. Start by identifying which areas of your property need attention first, then build a realistic budget around both immediate needs and long-term durability.